What is AC Voltage? | How to Test AC Voltage in a Socket Safely
Understanding AC Voltage and How to Test It Safely
What is AC Voltage?
AC (Alternating Current) Voltage is the type of electrical current used in most homes, businesses, and power grids around the world. Unlike DC (Direct Current) voltage, which flows in a single direction, AC voltage oscillates back and forth, allowing it to be efficiently transmitted over long distances. This back-and-forth movement makes AC voltage ideal for powering everyday devices like lights, appliances, and power tools.
AC voltage is characterized by its voltage (often expressed in volts) and its frequency (measured in Hertz or Hz). In the United States, for example, the standard voltage in household outlets is between 110-120 volts with a frequency of 60 Hz, while many other countries use 230 volts at 50 Hz.


Why Should You Test for AC Voltage?
Testing for AC voltage is essential for several reasons:
- Safety: Ensuring there’s no live current in a circuit before beginning any repair or installation work helps prevent electric shock or damage to equipment.
- Troubleshooting: AC voltage testing can reveal if power is properly reaching a device, outlet, or circuit, helping identify wiring or connectivity issues.
- Verification: After a repair or installation, verifying AC voltage ensures everything is functioning correctly and confirms the circuit is live if expected.
Steps to Test AC Voltage in a Socket
Using a multimeter like the MASTECH MS830T makes testing AC voltage in a socket safe and easy. Follow these steps for a secure and accurate reading:
1. Prepare the Multimeter
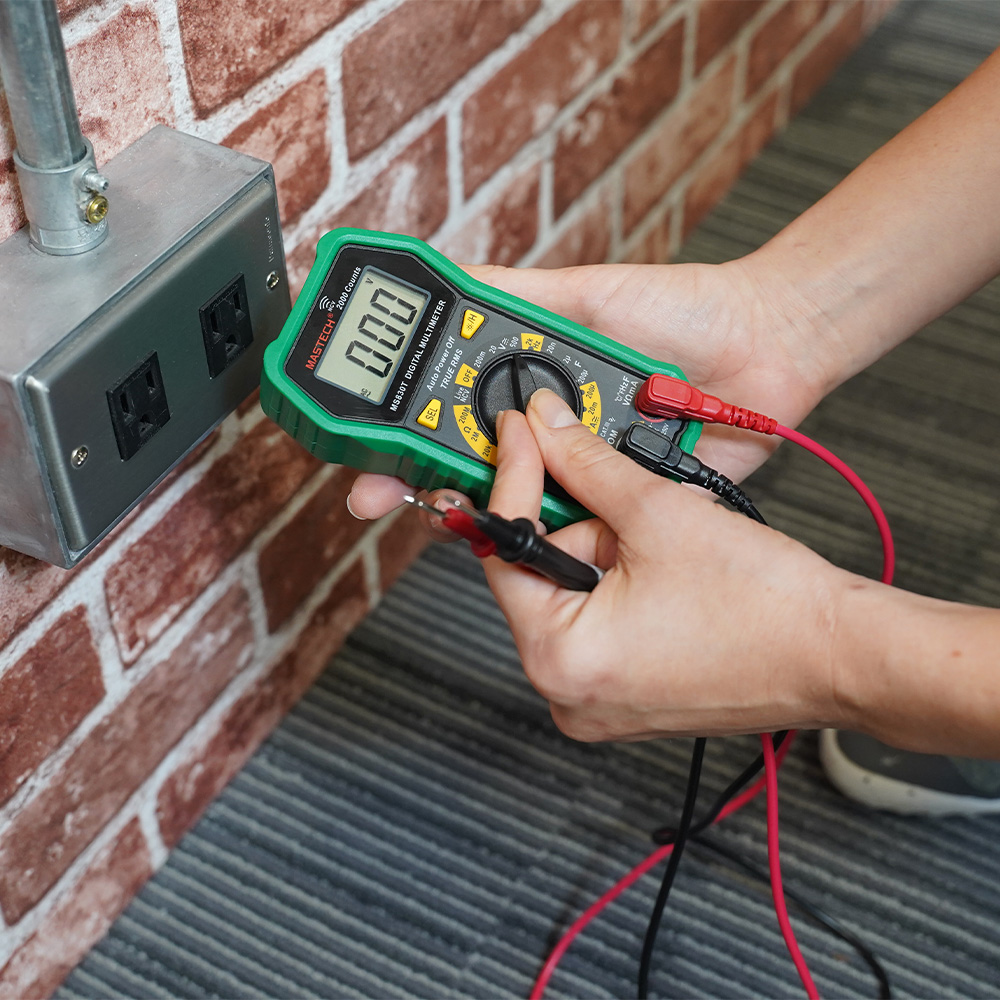
- Set your multimeter to measure AC voltage. Look for a setting marked as “V~” or just “AC Voltage.” Ensure it’s set to an appropriate range higher than the expected voltage (e.g., 200V or 600V).
2. Check for Safety
- Before testing, inspect the multimeter probes and socket. Ensure the probes are in good condition and the socket is dry and free from any obvious issues.
3. Insert the Probes
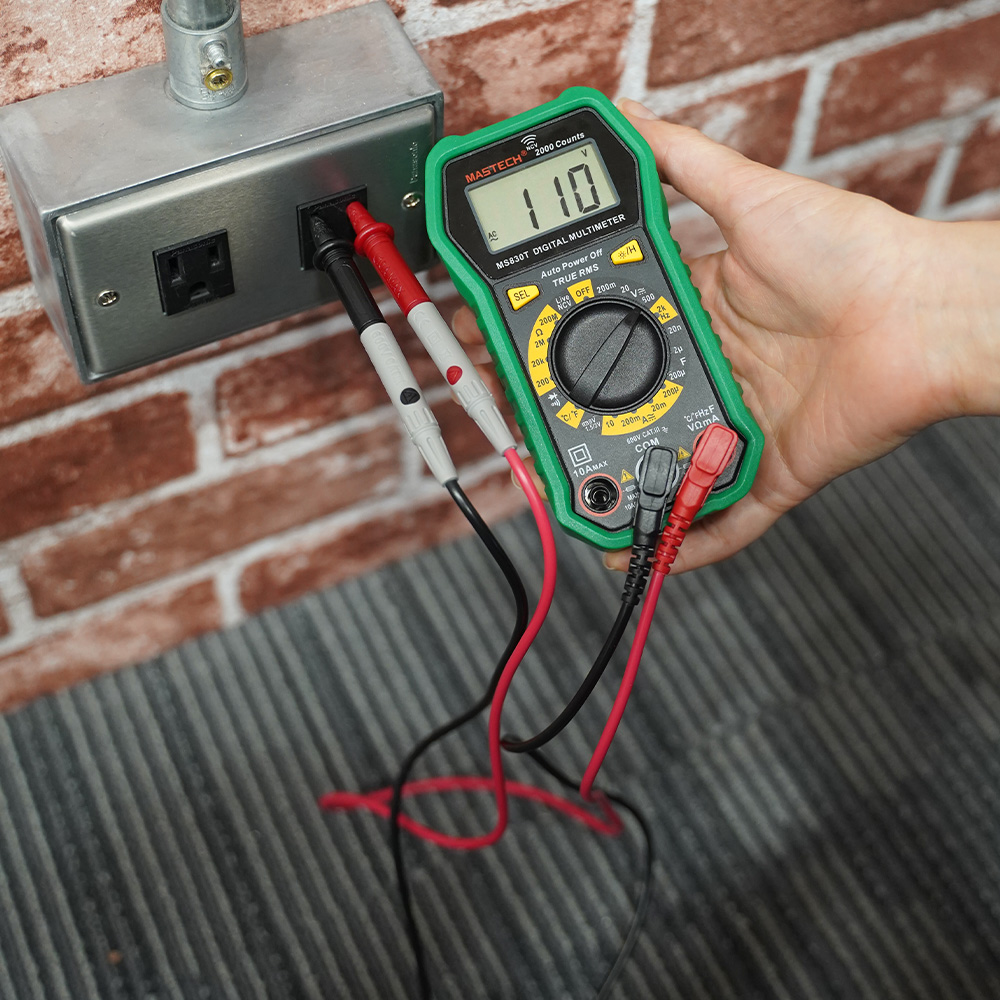
- Insert the black probe into the socket’s neutral (larger slot) and the red probe into the live or hot slot (smaller slot). Make sure to keep your hands steady and avoid touching the metal parts of the probes.
4. Read the Measurement
- Look at the multimeter display for the voltage reading. For a standard 120V socket, you should see a reading around 110-125V, and for a 230V socket, it should show around 220-240V.
5. Interpret Results and Remove Probes
- If the voltage reading aligns with the expected voltage, the socket is functioning correctly. If the reading is significantly lower or fluctuates, it could indicate a wiring issue. Carefully remove the probes from the socket and power down the multimeter when done.
Testing for AC voltage helps ensure safe, efficient, and reliable electrical work.
With a reliable tool like the MASTECH MS830T, testing AC voltage becomes straightforward and provides peace of mind for all electrical tasks.
2024-12-02

 Mastech CN
 Mastech TW

