What is Continuity? How to Test Continuity with a Multimeter
Understanding Continuity: What It Is, Why It’s Important, and How to Test It
What is Continuity?
In electrical terms, continuity refers to the presence of a complete and unbroken path for electric current to flow between two points. When a circuit or wire has continuity, it means there is no break, and current can travel freely. This is crucial in ensuring electrical devices work as intended, as a lack of continuity due to a break or fault can prevent components from functioning or even pose safety hazards.


Why Check for Continuity?
Checking for continuity is essential for troubleshooting and verifying electrical circuits, appliances, and wires. It’s a simple test that helps to:
1. Identify Faults or Broken Circuits – It quickly reveals broken connections or faulty wiring, helping you to repair or replace damaged parts.
2. Verify Connections in New Installations – Ensuring all connections are solid during installation helps prevent future issues.
3. Ensure Safety – By checking continuity, you can detect shorts or faulty components that could lead to overheating, fire, or shock hazards.
When and Where to Use Continuity Testing
Continuity testing is useful in a wide range of applications:
- Wiring and Cable Checks – Determine if a wire or cable is damaged by checking for continuity across both ends.
- Appliance Repair – Identify broken or faulty components within household appliances.
- Automotive Diagnostics – Test circuits in a car’s electrical system, such as checking for faulty fuses, lights, or wiring.
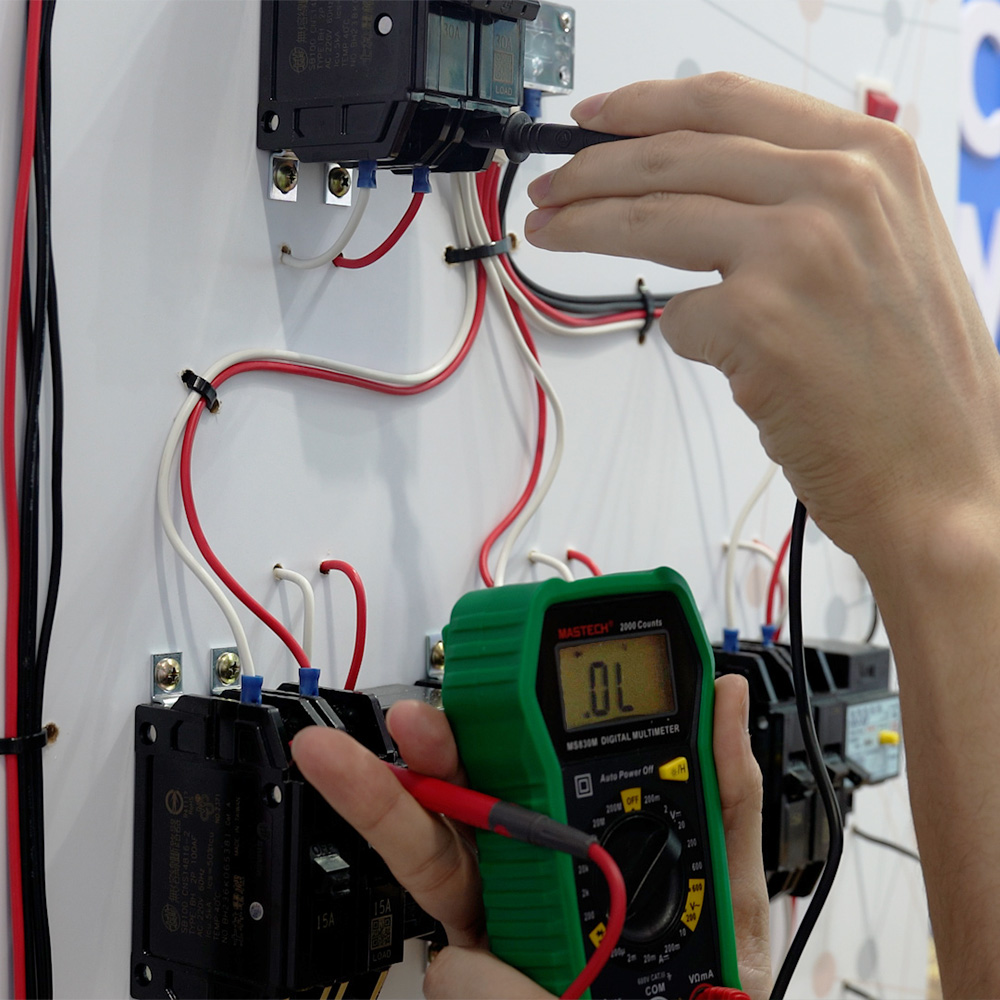

How to Test for Continuity
A multimeter makes checking continuity easy with just a few simple steps. Here’s a straightforward guide on how to perform a continuity test:
1. Prepare the Multimeter
Set your multimeter to the continuity check mode. It’s often indicated by a symbol resembling sound waves.
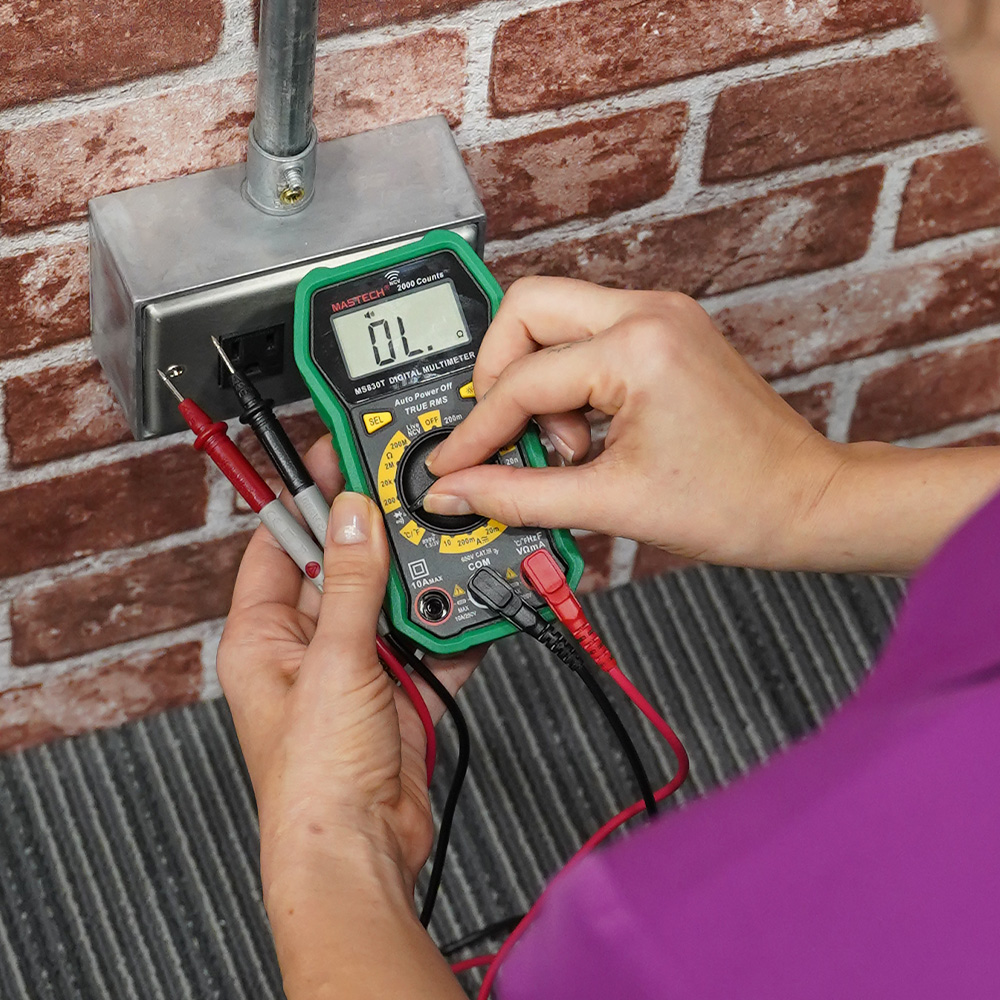

2. Test the Multimeter First
To verify that your multimeter is working, touch the two probes together. If there is continuity, you’ll hear a beep (if your multimeter has a sound feature) or see the display change to show a reading close to zero.
3. Prepare the Circuit
Make sure the circuit or device you’re testing is powered off to avoid any accidental shocks or damage to your multimeter.
4. Touch the Probes to the Circuit
Place one probe on each end of the circuit, wire, or component you’re testing. If there is a complete path (continuity), the multimeter will beep, or the display will show a low resistance reading close to zero. If the display shows “OL” (open loop), this indicates a break in continuity.
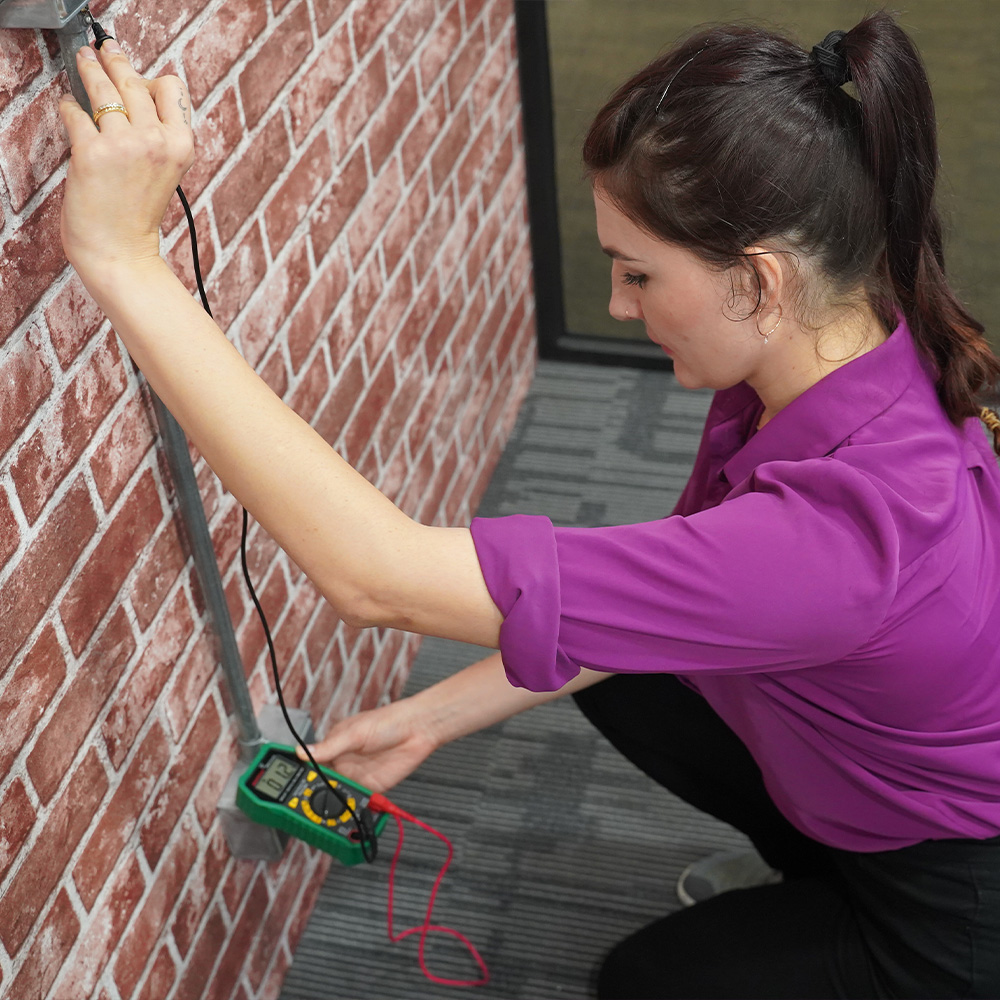

5. Interpret the Results
A beep or a low resistance reading as low as 0 means the component has continuity. If you get an open loop reading(OL), it indicates a break, and the circuit or component may need repair or replacement.
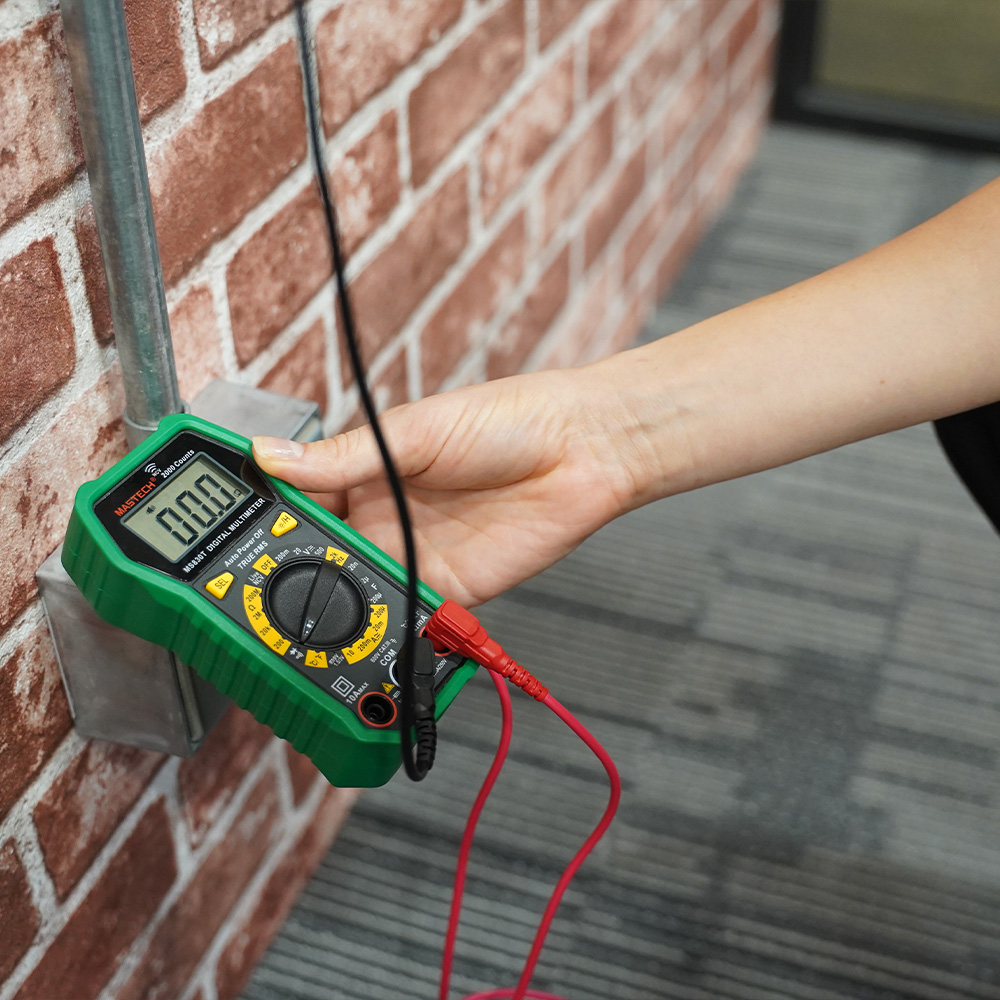

Testing continuity is an essential skill for anyone working with electronics or electrical systems, from professionals to DIY enthusiasts. Understanding continuity and knowing how to test it with a multimeter can help keep circuits functioning properly and safely.
2024-11-29

 Mastech CN
 Mastech TW