Understanding and Measuring Resistance with a Multimeter
What is Resistance? How to Measure It and Why It Matters
Understanding Resistance
Resistance, in electrical terms, refers to the opposition that a material or component offers to the flow of electric current. It’s measured in ohms (Ω) and is a fundamental property of all materials, with each one varying in how much it resists current. While conductors like copper or aluminum have low resistance, allowing current to flow easily, insulators like rubber or plastic have high resistance, blocking the current. Resistance is crucial in managing the flow and control of electricity within circuits, affecting everything from device performance to energy efficiency and safety.


Why and Where to Check Resistance
Measuring resistance is essential for diagnosing issues in circuits and ensuring they function safely and efficiently. Here are common scenarios where checking resistance is valuable:
1. Troubleshooting Electronics: Testing the resistance of various components helps in identifying faults like broken wires, damaged resistors, or burned-out parts.
2. Checking Connections: High resistance in a connection point might indicate a loose connection, corrosion, or poor contact, which can lead to overheating or device malfunction.
3. Testing Heating Elements: Many household appliances rely on heating elements. By measuring their resistance, you can confirm if they’re working correctly or need replacement.
4. Verifying Insulation: High resistance across an insulator ensures it’s blocking current as it should, while low resistance may indicate a potential breakdown or safety hazard.


Steps to Measure Resistance with a Multimeter
Here’s how to measure resistance using a digital multimeter:
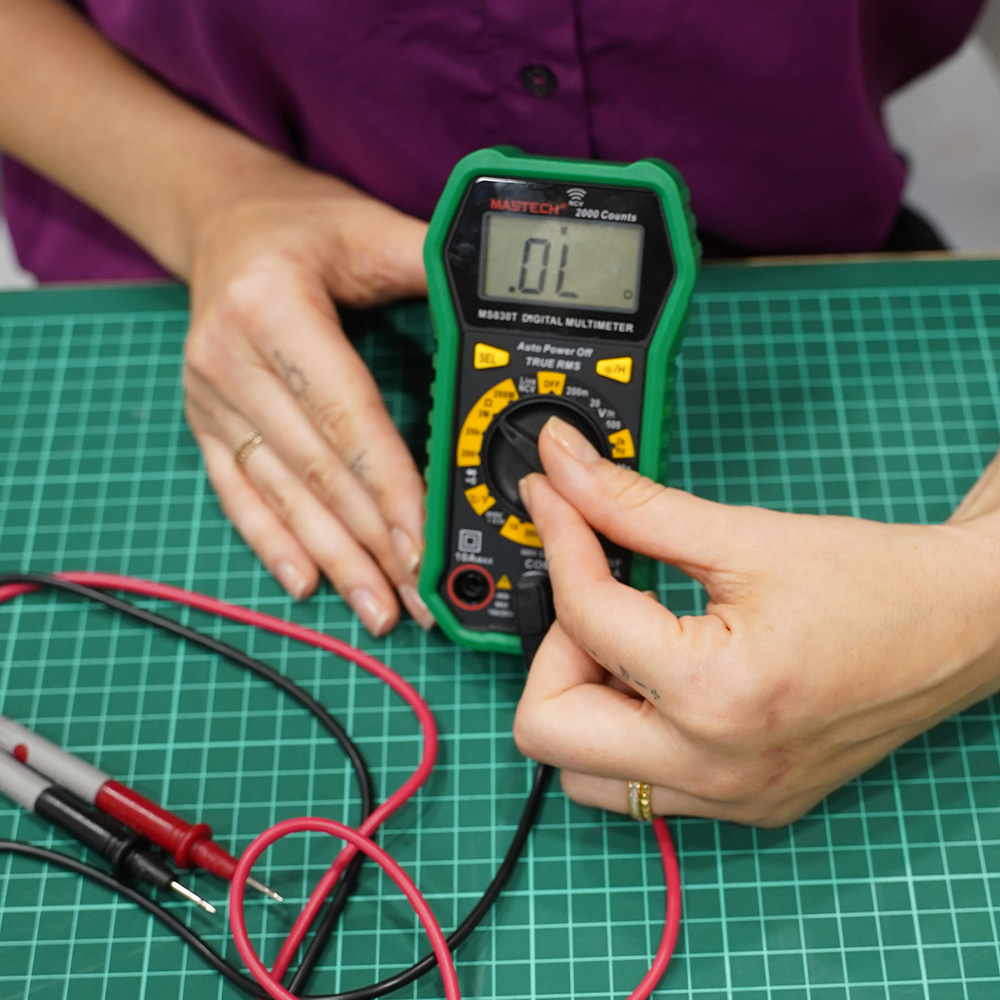
1. Set the Multimeter to Resistance (Ω): Turn the multimeter dial to the resistance setting, often indicated by the Ω symbol. Select an appropriate range if your meter isn’t auto-ranging.


2. Ensure Safety Precautions: Power off the circuit or device you’re testing to prevent inaccurate readings or damage to the multimeter.
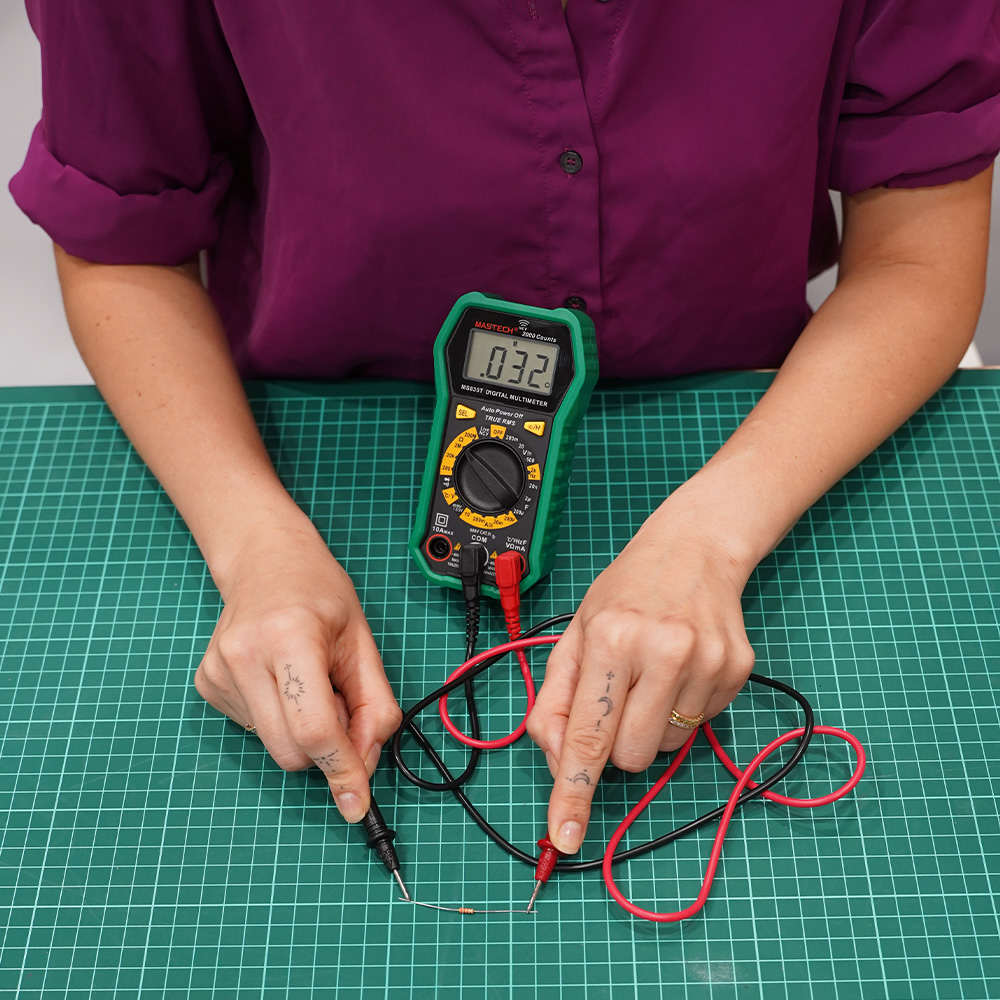
3. Connect the Probes: Insert the red and black probes into the multimeter ports—black into the COM (common) port and red into the Ω or resistance port.
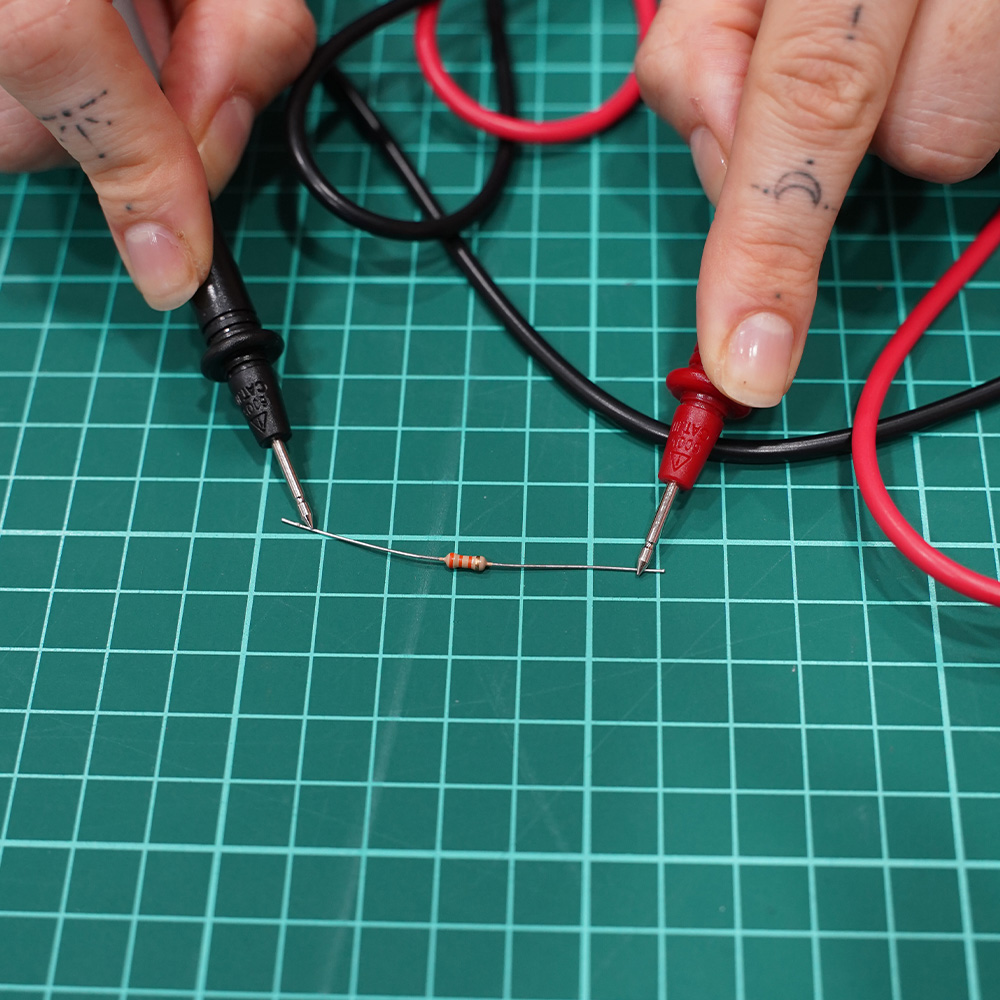
4. Measure the Resistance: Touch the probes to the component or section of the circuit you want to measure. The multimeter will display the resistance reading in ohms. A reading of "0" may indicate a short circuit, while "OL" or infinity suggests an open circuit..


By regularly testing resistance, you can identify potential issues early on, ensure safe operations, and enhance the efficiency of your electrical equipment. Regular checks contribute to maintaining overall safety and reliability in your electrical systems.
2024-12-15

 Mastech CN
 Mastech TW